Are you tired of weak WiFi signals in your outdoor spaces? Installing an outdoor WiFi booster on your wall can be the simple fix you need.
Imagine streaming, working, or browsing outside without interruptions or slow speeds. In this guide, you’ll learn exactly how to set up your booster quickly and correctly. By the end, you’ll have stronger, faster WiFi where you want it most. Keep reading—you’re just a few easy steps away from boosting your connection and enjoying seamless internet outdoors.
Choosing The Right Wifi Booster
Outdoor wifi boosters come in different types. The main ones are repeaters, extenders,and mesh systems. Repeaters catch the wifi signal and send it out again. Extenders increase the range by connecting to your router. Mesh systems use many devices to cover large areas smoothly.
Important featuresinclude strong signal range, easy setup,and compatibilitywith your current router. Look for boosters that support the latest wifi standards for better speed.
Weatherproofingis key for outdoor use. Choose boosters with waterproofand dustproofcases. Durability means the booster can handle rain, sun, and wind without breaking.
| Feature | Why It Matters |
|---|---|
| Signal Range | Covers more outdoor space |
| Weatherproofing | Protects from rain and dust |
| Compatibility | Works with your router |
| Easy Setup | Quick installation and use |
Credit: simplewifi.com
Selecting The Installation Location
Choose a spot with clear line of sightfor the best signal. Avoid walls, trees, or metal objects that block signals.
Keep the booster away from electronic devicesthat can cause interference, like microwaves or cordless phones.
Place the booster higher on the wallto cover more area. Tilt it slightly to aim the signal where needed.
| Factor | Tip |
|---|---|
| Signal Reception | Find open spaces without obstacles |
| Obstructions | Avoid walls, large trees, metal objects |
| Interference | Keep away from other electronics |
| Height | Install high on the wall |
| Angle | Tilt for best coverage |
Gathering Required Tools And Materials
Gather the mounting hardwareneeded to secure the WiFi booster on the wall. This usually includes screws, wall anchors, and brackets. Choose hardware that fits the booster and wall type.
Wear safety equipmentlike gloves and safety glasses. This protects your hands and eyes during installation. A sturdy ladder is also helpful for reaching high spots.
Additional accessories can make installation easier. Consider cable clips, a drill with proper bits, and a levelto keep the booster straight. A measuring tape helps with precise placement.
Preparing The Wall For Installation
Start by selecting the exact spots for drilling. Use a pencil to mark drill pointsclearly. Check if these points line up with the booster mounting holes. Make sure the marks are easy to see and spaced properly.
Use a drill bit that fits the wall anchors. Drill holes straight and at the marked points. Insert anchors fully into the holes. Tap gently with a hammer if needed for a snug fit. Anchors keep the booster secure on the wall.
Clean the wall surface before installation. Remove dust, dirt, and loose paint. Check the wall for cracks or damage. A smooth and strong wall helps the booster stay fixed firmly.
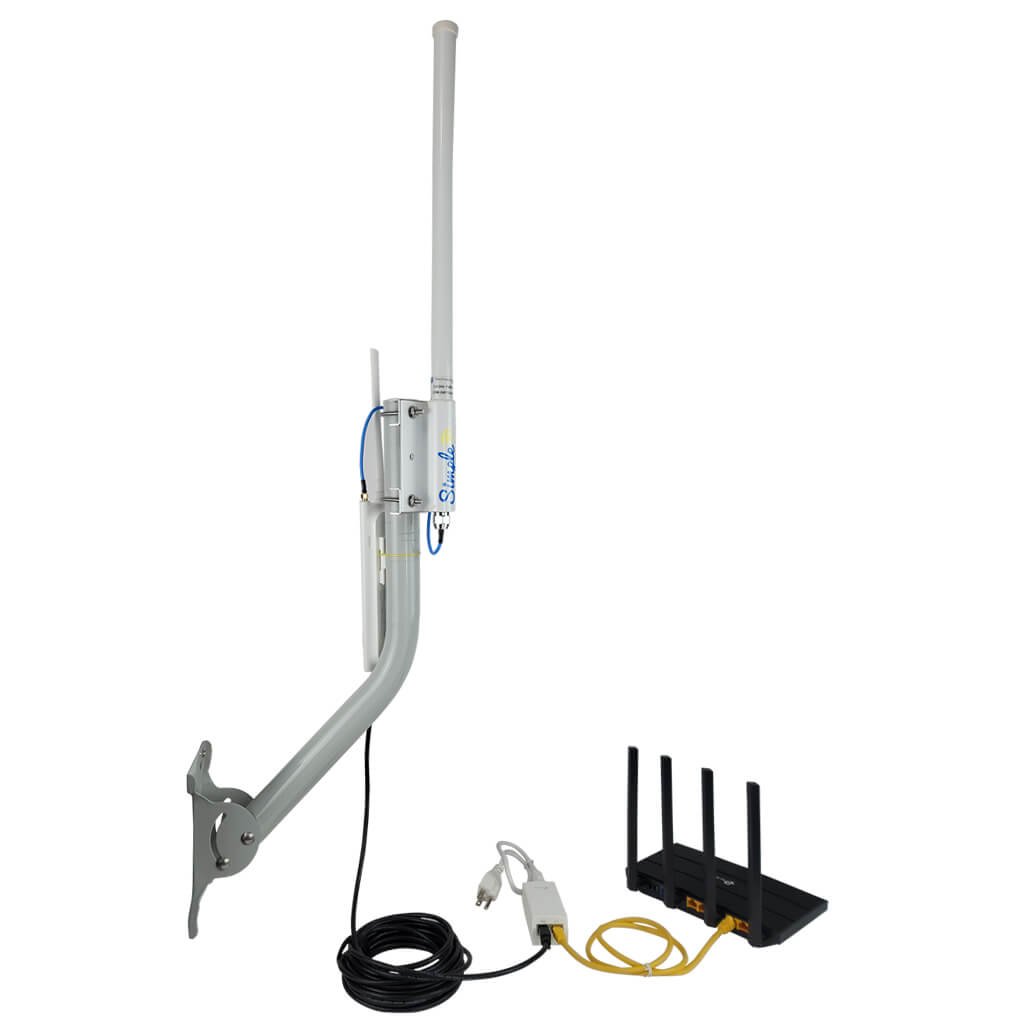
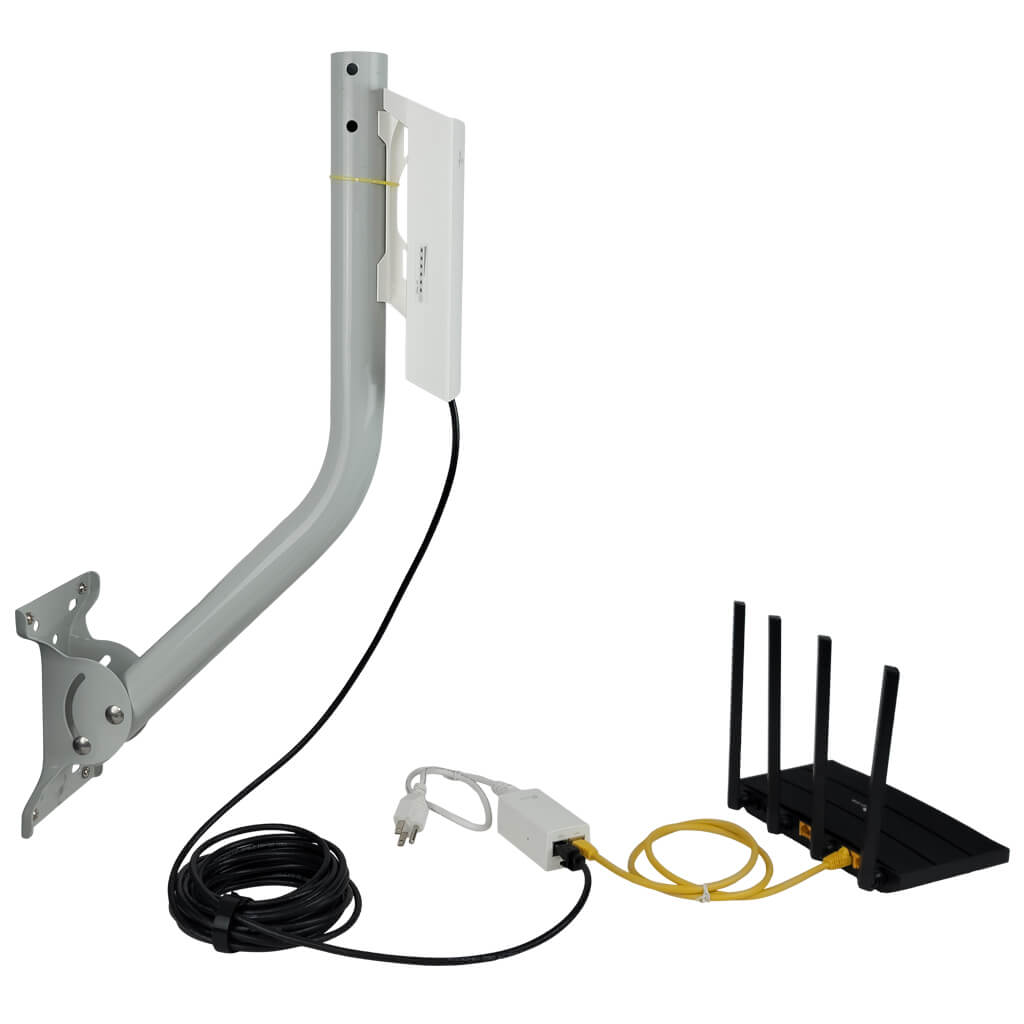
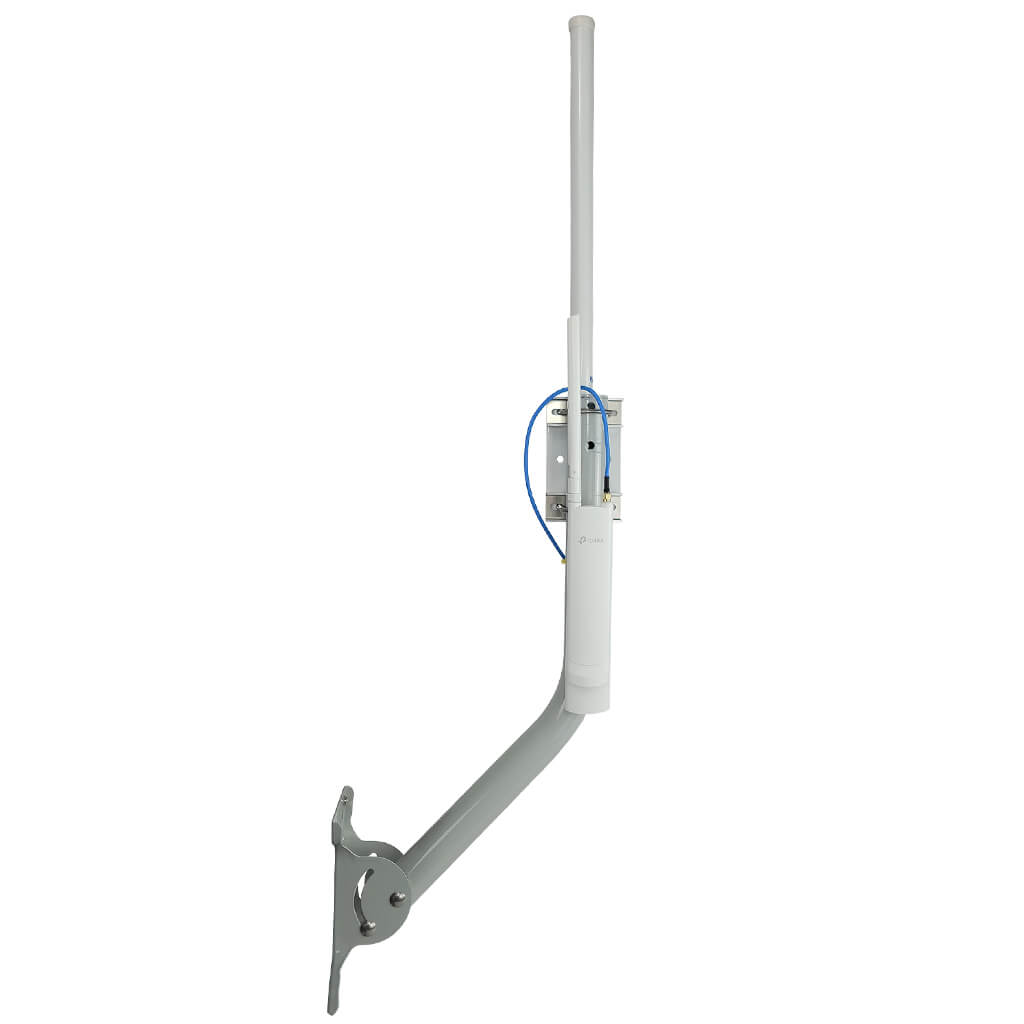
Mounting The Wifi Booster
Attach the mounting bracket firmly to the wall using screws. Make sure the wall surface is clean and dry. Use a drill for hard surfaces like brick or concrete. Align the bracket so the booster will sit straight and stable.
Secure the wifi booster onto the mounted bracket carefully. Push the device until it clicks into place or use screws if needed. Double-check that it does not wobble or feel loose.
Adjust the booster position for the best signal. Point it toward the area where you want stronger wifi. Small angle changes can improve the signal a lot. Test different directions before finalizing.

Credit: manuals.plus
Connecting Power And Network
Choose a nearby power outletor use a weatherproof power sourcefor outdoor use. Some boosters support Power over Ethernet (PoE), which combines power and data in one cable. This helps reduce clutter and makes installation easier.
Use cable clipsor conduitsto keep wires neat and safe. Avoid loose cables to prevent damage from wind or animals. Secure cables along the wall or roofline for a clean look.
Connect the booster to your router or modem using an Ethernet cable. For PoE models, plug the cable into the PoE injector before the power outlet. Check that all connections are tight and weatherproofed to avoid signal loss.
Configuring The Wifi Booster
Access the wifi booster setup by connecting to its network. Open a web browser and enter the IP address provided in the manual. A login page appears. Use the default username and password to enter.
Adjust settings to improve signal strength and coverage. Choose the correct wifi channel to avoid interference. Set the booster to the same network name (SSID) as your main router for easy connection. Enable encryption to keep your network secure.
| Test Area | Signal Strength | Expected Result |
|---|---|---|
| Near Booster | Strong | Full bars or 75%+ |
| Far from Booster | Moderate | 50%-75% bars |
| Obstructed Area | Weak | Less than 50% bars |
Test signal in different places. Walk around with a phone or laptop. Check the wifi icon for signal bars. Move the booster if needed to get better coverage.
Maintaining Your Outdoor Wifi Booster
Keep your outdoor WiFi booster cleanto ensure strong signals. Dust and dirt can block the antenna and reduce performance. Use a soft cloth or brush to gently wipe the device. Avoid using water directly on the booster to stop damage.
Protect from weather damageby installing the booster in a sheltered spot. Use waterproof covers if needed. Strong winds and rain can harm the device. Check for rust or cracks regularly and fix them fast.
| Issue | Possible Cause | Simple Fix |
|---|---|---|
| Weak signal | Obstruction or dirty booster | Clean the booster and clear obstacles |
| No connection | Loose cables or power off | Check all cables and power source |
| Intermittent signal | Interference from other devices | Move booster away from other electronics |
Credit: simplewifi.com
Frequently Asked Questions
How Do I Mount An Outdoor Wifi Booster On A Wall?
Choose a sturdy wall near your router. Use screws and anchors to secure the mounting bracket. Attach the booster firmly, ensuring it faces the desired coverage area.
What Tools Are Needed To Install A Wifi Booster Outdoors?
You need a drill, screwdriver, wall anchors, screws, and a mounting bracket. A level helps ensure straight installation. Safety gloves and a ladder might also be necessary.
Can I Install An Outdoor Wifi Booster Myself?
Yes, installation is straightforward with basic tools and instructions. Follow the manual carefully, choose an optimal location, and secure the booster properly for best results.
Where Is The Best Location For An Outdoor Wifi Booster?
Place it high on a wall, away from obstructions and interference. Ensure it faces the area needing improved signal and stays within range of your router.
Conclusion
Installing an outdoor WiFi booster on your wall is straightforward. Follow the steps carefully for the best results. Begin by choosing the right location. Make sure it’s within range of your main router. Secure the booster firmly to the wall.
Test your connection after installation. Check for any signal improvements. If needed, adjust the booster position slightly. Enjoy stronger and more reliable WiFi outdoors. This setup enhances connectivity for all your devices. Keep enjoying seamless internet access in your outdoor spaces.
Feel free to explore more tips for optimizing WiFi performance. Stay connected!