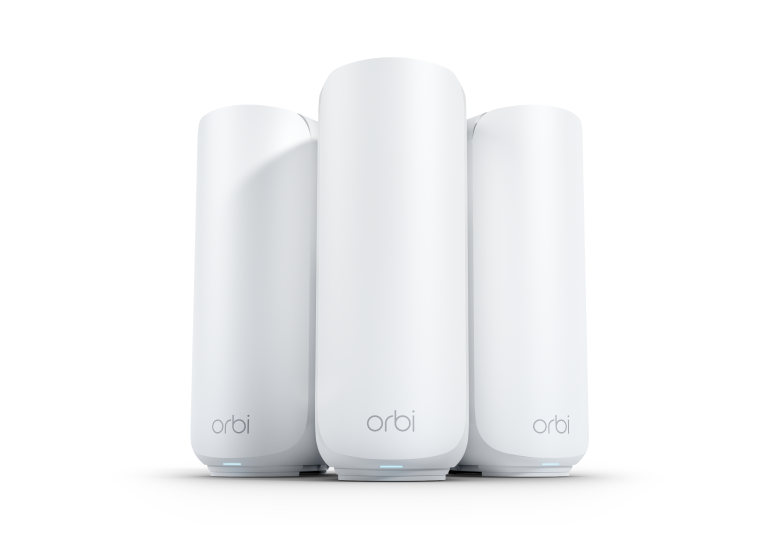
Are you struggling with WiFi dead zones in your home? Adding an extra node to your Orbi Mesh WiFi system could be the simple fix you need.
Imagine having a strong, reliable internet signal in every corner of your space, without frustrating drops or slow speeds. In this guide, you’ll learn exactly how to expand your Orbi network step-by-step. Keep reading, and you’ll soon enjoy seamless connectivity wherever you are.

Credit: www.youtube.com
Prepare Your Orbi System
Adding an extra node to your Orbi mesh WiFi can improve coverage. Preparing your system first makes the process smooth.
This guide helps you get your Orbi ready before adding the new node.
Check Compatibility
Not all Orbi nodes work with every system. Check if your new node matches your current Orbi model.
Using a compatible node ensures better connection and fewer problems.
- Look for matching model numbers on the node and router
- Verify supported firmware versions for both devices
- Check if the new node is designed for your Orbi series
Update Firmware
Keep your Orbi router and nodes updated. Firmware updates fix bugs and add features.
Updating firmware before adding a node helps avoid setup issues.
- Open the Orbi app or web interface
- Check for available firmware updates
- Download and install the updates
- Restart the router after updating
Choose Node Location
Pick the right spot for the new node. Good placement improves WiFi coverage.
Avoid walls and large objects that block signals. Place nodes where you need better WiFi.
- Place the node halfway between the router and dead zones
- Keep the node away from microwaves and cordless phones
- Try to place nodes in open areas for better signal spread
- Test the location by checking the WiFi strength before final setup
Power Up The New Node
Adding a new node to your Orbi mesh WiFi system improves your network coverage. Powering on the new node correctly helps it connect smoothly.
Follow these steps to power up the new node before syncing it with your existing system.
Plug In The Node
Find a power outlet near where you want to place the new node. Plug the node’s power adapter into the outlet. Then, connect the adapter to the node’s power port.
Make sure the power outlet is working and the connection is secure. This will allow the node to start up properly.
Wait For Indicator Lights
Once plugged in, watch the node’s LED lights. They show the node’s status and connection progress.
Wait for the lights to stop blinking and show a steady color. This means the node is powered on and ready.
- A white light means the node is booting up.
- A flashing blue light shows it is connecting to the main router.
- A solid blue light means a good connection.
- An amber light shows a weak connection.
Connect The Node To Your Network
Adding an extra node to your Orbi mesh WiFi can improve your home coverage. You need to connect the new node to your existing network for it to work.
This guide shows two ways to connect the node. You can use the Orbi app or sync the node manually.
Using The Orbi App
Open the Orbi app on your phone. Make sure your phone is connected to your Orbi WiFi network.
Tap on the option to add a new Orbi device. Follow the app instructions to find and connect the new node.
- Launch the Orbi app and log in if needed
- Select “Add Orbi Device” or similar option
- Place the node near the main router for setup
- Follow on-screen prompts to complete connection
- Wait for the app to confirm the node is connected
Manual Sync Method
Plug in your new Orbi node near the main router. Wait until its LED light turns white.
Press the Sync button on the main router. Then press the Sync button on the new node within two minutes.
- Power on the new Orbi node
- Wait for the LED to show white light
- Press the Sync button on the main Orbi router
- Press the Sync button on the new node quickly
- Wait for the LED on the node to turn solid blue
- Blue light means the node is connected
Verify Node Connection
After adding an extra node to your Orbi mesh WiFi, checking its connection is important. This helps ensure your network works well and covers your home.
Verifying the connection means looking at status lights and testing network coverage. These steps confirm the new node is linked and working properly.
Check Status Lights
Each Orbi node has status lights that show its connection state. Look at these lights to see if the node is connected to your network.
A solid white or blue light usually means the node is connected and working. A red or blinking light can show a problem with the connection.
- White light: Node is starting up
- Blue light: Node is connected and working well
- Amber light: Node is connected but signal is weak
- Red light: Node has no connection
- Blinking light: Node is updating or facing issues
Test Network Coverage
After checking the lights, test the WiFi coverage in different rooms. This shows if the new node improves your signal strength.
Use a device like a phone or laptop to check the WiFi signal near the new node. Walk around the house to see if the signal is strong and stable.
- Move close to the new node and check internet speed
- Test in areas that had weak WiFi before
- Compare signal strength with and without the new node
- Make sure devices can connect easily in all rooms
Troubleshoot Common Issues
Adding an extra node to your Orbi Mesh WiFi can improve coverage. Sometimes, issues happen that stop the new node from working well.
This guide helps you fix common problems with your Orbi node. Follow the tips below to get your mesh system running smoothly.
Resetting The Node
If your new Orbi node does not connect or work properly, resetting it often helps. Resetting clears old settings and lets you start fresh.
- Locate the reset button on the node. It is usually a small hole.
- Use a paperclip to press and hold the reset button for about 10 seconds.
- Release the button and wait for the node to reboot. Lights will flash during this time.
- After reboot, try adding the node to your network again using the Orbi app or web interface.
Improving Signal Strength
Weak signals cause slow internet or no connection. You can improve signal strength by placing the node correctly and checking interference.
| Problem | Solution |
| Node too far from router | Move the node closer to the main Orbi router. |
| Obstacles blocking signal | Place the node in open areas away from walls and metal objects. |
| Other wireless devices interfere | Keep the node away from microwaves and cordless phones. |
| Node placed on floor | Elevate the node on a shelf or table for better coverage. |
Credit: www.netgear.com

Credit: www.pcmag.com
Frequently Asked Questions
How Do I Add An Extra Node To Orbi Mesh Wifi?
To add an extra node, plug it into power near your router. Use the Orbi app to follow setup prompts and sync the node to your network. This extends your WiFi coverage seamlessly.
Can I Add Multiple Nodes To Orbi Mesh Wifi?
Yes, you can add multiple nodes to your Orbi system. Each node must be synced via the Orbi app to expand your WiFi range effectively.
Where Should I Place The New Orbi Node For Best Coverage?
Place the new node halfway between your router and the weak WiFi area. Avoid obstacles and keep it within range for a strong mesh connection.
Do I Need To Reset Orbi Before Adding A New Node?
No, resetting is not necessary. Simply power on the new node and use the Orbi app to add it to your existing mesh network.
Conclusion
Adding an extra node to your Orbi mesh WiFi improves coverage and speed. It helps eliminate WiFi dead zones in your home. Setup is quick and easy with clear steps. Keep your devices connected smoothly everywhere. Enjoy better internet for work, streaming, and gaming.
Regularly check for updates to keep your system running well. A stronger WiFi network means less frustration and more convenience. Now, your home stays connected without interruptions or weak signals.