Are you tired of slow Wi-Fi and dead zones in your home? Setting up Google Nest Mesh Wi-Fi can change that for you.
Imagine having strong, reliable internet in every corner, whether you’re streaming, working, or gaming. In this guide, you’ll learn exactly how to set up your Google Nest Mesh Wi-Fi quickly and easily. By the end, you’ll have a seamless connection that keeps up with all your devices.
Keep reading—you’re just a few simple steps away from better Wi-Fi everywhere.

Credit: www.reddit.com
Choosing The Right Nest Wifi System
Choosing the right Nest Wifi system helps improve your home internet. The right choice depends on your home’s size and internet needs.
This guide covers how to compare Nest Wifi models, assess your home size, and check internet speed compatibility.
Comparing Nest Wifi Models
Google offers different Nest Wifi models. Each model has unique features and coverage areas. Picking the right model depends on your needs.
| Model | Coverage Area | Max Speed | Smart Speaker |
|---|---|---|---|
| Nest Wifi Router | 2200 sq ft | 2.2 Gbps | No |
| Nest Wifi Point | 1600 sq ft | 1.2 Gbps | Yes |
| Nest Wifi Pro | 2500 sq ft | 5.4 Gbps | No |
Assessing Your Home Size
Measure your home size to decide how many Nest Wifi units you need. Larger homes may require multiple units for full coverage.
- Small homes (under 1500 sq ft): One Nest Wifi Router may work well.
- Medium homes (1500 to 3000 sq ft): Router plus one or two Nest Wifi Points.
- Large homes (over 3000 sq ft): Consider Nest Wifi Pro or multiple points.
Checking Internet Speed Compatibility
Your Nest Wifi system must support your internet speed. Match the system’s max speed with your internet plan for best performance.
| Internet Plan Speed | Recommended Nest Wifi Model |
|---|---|
| Up to 1 Gbps | Nest Wifi Router + Points |
| 1 Gbps to 2.2 Gbps | Nest Wifi Router |
| Above 2.2 Gbps | Nest Wifi Pro |
Credit: www.youtube.com
Preparing For Installation
Setting up Google Nest Mesh Wifi needs careful preparation. Getting ready helps the installation go smoothly.
This guide covers what you need before you start, where to put your devices, and how to check power sources.
Gathering Necessary Equipment
First, collect all the devices and tools you need. This includes the main router, mesh points, and cables.
- Google Nest Wifi router and mesh points
- Ethernet cable
- Power adapters for each device
- Smartphone or tablet for setup
- Google Home app installed
Positioning Router And Points
Place your router near your modem with good airflow. Avoid crowded spots or direct sunlight.
| Device | Ideal Location |
|---|---|
| Router | Close to modem, open space |
| Mesh Points | Evenly spaced, avoid walls and metal objects |
Keep mesh points at a moderate distance from the router. Walls and floors can weaken signals.
Ensuring Strong Power Sources
Check that each device has a nearby power outlet. Use stable power sources to avoid interruptions.
- Use original power adapters
- Plug devices directly into wall sockets
- Avoid power strips that may overload
- Check outlets for damage before use
Setting Up The Nest Wifi Router
Setting up your Nest Wifi router is simple and quick. Follow these clear steps to get your network ready.
This guide covers connecting the router to the modem, powering it on, and using the Google Home app.
Connecting To The Modem
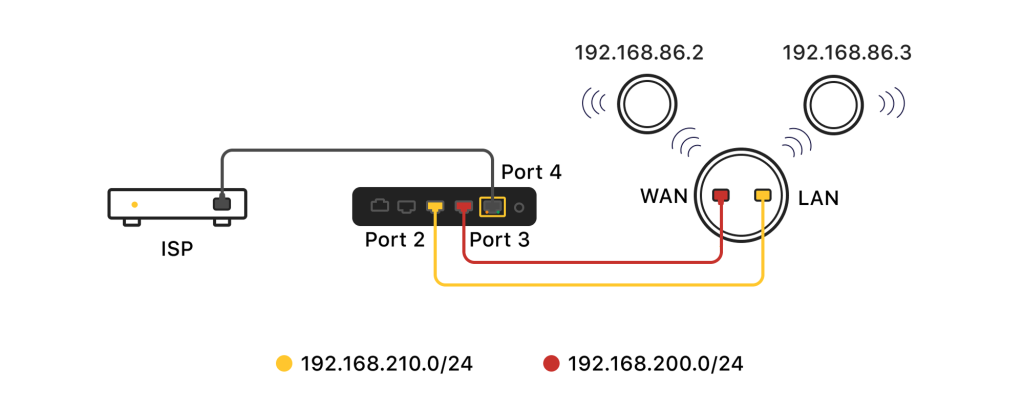
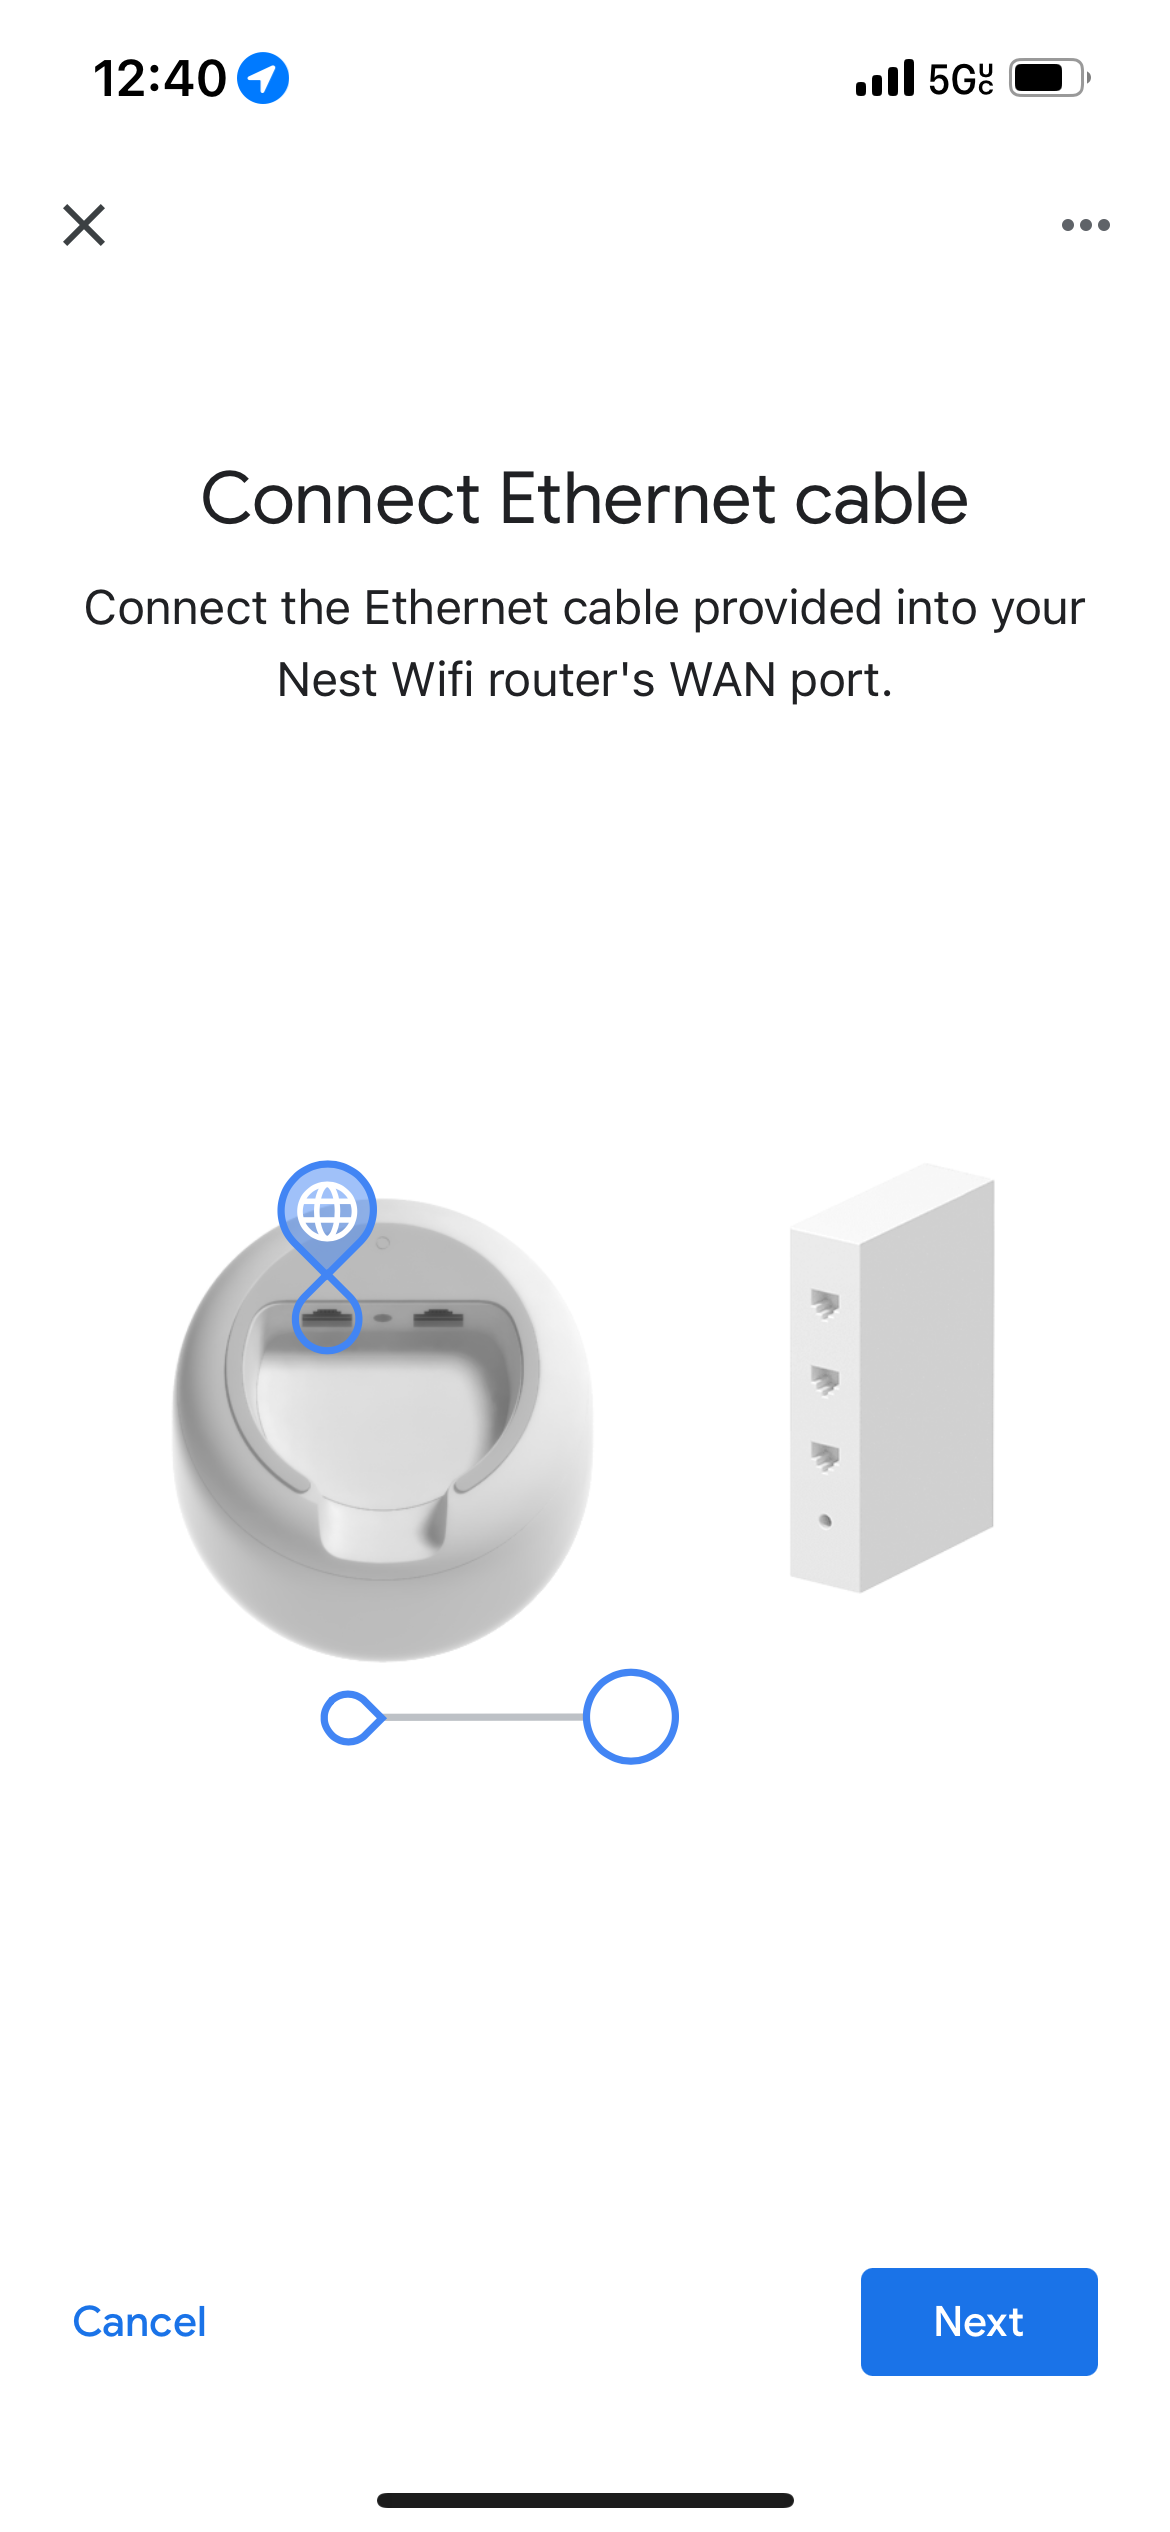
First, connect your Nest Wifi router to your internet modem. Use the included Ethernet cable for this.
- Plug one end of the Ethernet cable into the modem’s Ethernet port.
- Connect the other end to the WAN port on the Nest Wifi router.
- Make sure the modem is turned on and working.
Powering On The Router
Next, power on the Nest Wifi router. Find the power port on the device and plug in the power adapter.
| Action | Details |
| Connect power adapter | Plug it into the router’s power port |
| Plug adapter into outlet | Use a nearby power socket |
| Wait for lights | The router’s light should turn on and blink |
Downloading The Google Home App
You need the Google Home app to finish the setup. Download it on your smartphone or tablet.
- Open the App Store (iOS) or Google Play Store (Android).
- Search for “Google Home”.
- Download and install the app.
- Create or sign in with your Google account.
- Follow the app’s instructions to connect your router.
Configuring The Mesh Network
Setting up Google Nest Mesh Wifi is a simple process. This guide will help you configure your mesh network effectively.
Once configured, your network will provide strong and reliable wifi coverage throughout your home.
Adding Wifi Points
Adding wifi points extends your network’s coverage. Place each point in a central location for best performance.
Ensure each wifi point is within range of another. This creates a seamless mesh network.
- Plug in your new wifi point
- Open the Google Home app
- Follow the instructions to add the device
Naming Your Network
A unique network name helps you identify it easily. Choose a name that is easy to remember.
Avoid using personal information in your network name. This keeps your network secure.
- Open the Google Home app
- Select your wifi network
- Tap on “Network settings” and choose “Edit”
- Enter your desired network name
Setting A Secure Password
A strong password protects your network from unauthorized access. Use a mix of letters, numbers, and symbols.
Change your password regularly to maintain security. Avoid using easily guessed passwords.
- Navigate to “Network settings” in the Google Home app
- Select “Edit” under “Password”
- Enter a secure password and save changes
Optimizing Network Performance
Setting up your Google Nest Mesh Wifi correctly helps improve your network speed and coverage.
Good placement and proper settings make your wifi stronger and more reliable in every room.
Positioning Additional Points
Place additional Nest Wifi points where the signal is weak but still reachable from the main router.
- Keep points in open areas, not inside cabinets.
- Avoid placing points near metal objects or microwaves.
- Try to keep points at a mid-level height, like on a shelf.
- Do not place points too far from each other to avoid weak signals.
Managing Network Settings
Adjust settings in the Google Home app to control how your network works and stays safe.
| Setting | Purpose | Tips |
| Network Name (SSID) | Identifies your wifi | Use a unique name to avoid confusion |
| Password | Keeps your network secure | Use a strong password with letters and numbers |
| Guest Network | Separate wifi for visitors | Turn on to keep main network safe |
| Device Prioritization | Speeds up key devices | Prioritize devices like work laptops |
Monitoring Wifi Coverage
Check your network’s strength and coverage regularly to fix weak spots fast.
Use the Google Home app’s wifi test tool to see signal strength in each area.
- Open the app and select your Nest Wifi device.
- Run the “Test Wifi” option to check speeds.
- Move points if the app shows low coverage zones.
Troubleshooting Common Issues
Setting up Google Nest Mesh Wifi can be easy. Sometimes, issues may arise during the process. Here are ways to troubleshoot common problems.
Read on to learn how to reset devices, fix connection drops, and update firmware.
Resetting Devices
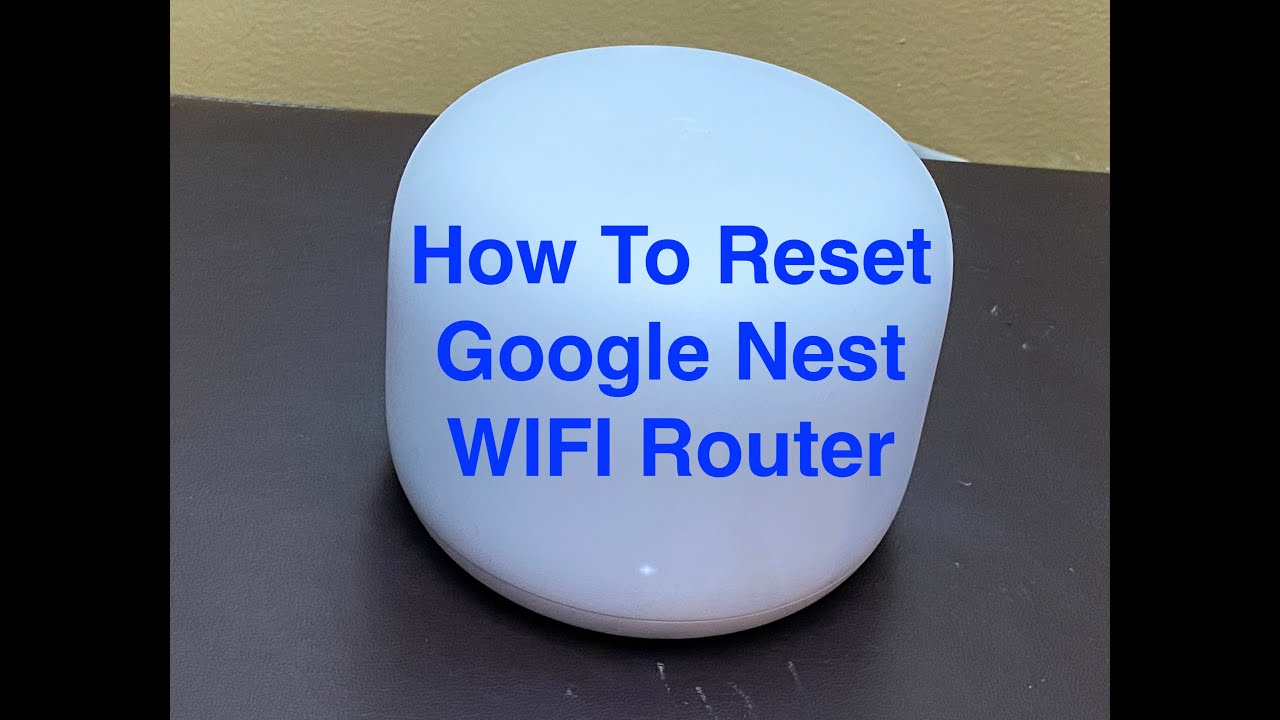
If your Google Nest Mesh Wifi is not working, try resetting it. This often solves many problems.
To reset, unplug the device and wait for 10 seconds. Then, plug it back in.
- Unplug the power cable from the device
- Wait for 10 seconds
- Plug the power cable back in
- Wait for the device to restart
Fixing Connection Drops
Connection drops can be frustrating. Check if the router is too far from the device.
Move the router closer to the device for a better signal. Also, check for interference from other devices.
- Move router closer to the device
- Avoid placing near microwaves or cordless phones
- Ensure no large metal objects are nearby
Updating Firmware
Firmware updates improve device performance. Ensure your Google Nest Mesh Wifi is running the latest firmware.
Check the Google Home app for available updates. Follow instructions to update the firmware.
- Open the Google Home app
- Check for any firmware updates
- Follow the on-screen instructions to update
Using Advanced Features
Google Nest Mesh Wifi offers useful features beyond basic internet access. These features help customize your network.
Learn how to set up guest networks, use parental controls, and connect smart home devices.
Setting Up Guest Networks
Guest networks let visitors use your Wi-Fi without accessing your main network. This keeps your data safe.
You can create a separate network with its own name and password for guests.
- Open the Google Home app on your phone.
- Select your Nest Wifi device.
- Tap on “Guest Network.”
- Turn on the guest network toggle.
- Set a network name and password.
- Share the details with your guests.
Parental Controls
Parental controls help manage what your children can do online. You can pause Wi-Fi or block certain sites.
Use the Google Home app to set limits and schedules for devices your kids use.
- Open the Google Home app.
- Tap on “Wi-Fi” and then “Family Wi-Fi.”
- Choose a child’s device to manage.
- Set filters for mature content or block apps.
- Create a schedule to pause internet access.
Integrating Smart Home Devices
Google Nest Mesh Wifi works well with smart home gadgets. You can connect lights, cameras, and speakers.
Connect devices easily using the Google Home app to control them from one place.
- Open the Google Home app.
- Tap the “+” icon to add a device.
- Choose “Set up device” and then “New devices.”
- Follow the instructions to connect each smart device.
- Group devices by room for easier control.
Credit: community.surfboard.com
Frequently Asked Questions
How Do I Start Setting Up Google Nest Wifi?
Begin by plugging in your Nest Wifi router and downloading the Google Home app. Follow the in-app instructions to connect the router to your modem and create your network.
Can I Add Multiple Google Nest Wifi Points?
Yes, you can add multiple Nest Wifi points to extend coverage. Use the Google Home app to add and place points around your home for seamless Wi-Fi.
What Is The Ideal Placement For Nest Wifi Devices?
Place Nest Wifi devices in open, central locations away from walls and obstructions. Avoid placing them near microwaves or cordless phones to reduce interference.
How Do I Reset My Google Nest Wifi?
To reset, press and hold the reset button on the device for about 10 seconds until the light flashes. Then, set it up again using the Google Home app.
Conclusion
Setting up Google Nest Mesh Wifi is simple and quick. Follow the steps carefully for the best connection. Place the devices in open areas to boost signal strength. Use the Google Home app to manage your network easily. Enjoy fast, reliable internet throughout your home.
This setup helps reduce dead zones and improves streaming quality. Keep your devices updated for better performance. Stay connected with a strong, stable Wifi network every day.