Struggling with slow Wi-Fi or dead zones in your home? Setting up your Google Nest Mesh Wi-Fi the right way can change everything.
Imagine seamless internet in every corner, no more dropped connections during important calls or streaming your favorite shows without buffering. You’ll discover simple, effective tips to get your Google Nest Mesh Wi-Fi up and running smoothly. Follow these steps, and you’ll enjoy fast, reliable Wi-Fi that keeps up with all your devices.
Ready to boost your home network? Let’s dive in!
Choosing The Right Nest Wifi System
Setting up a Google Nest Wifi system starts with picking the right model. The choice depends on your home size, device number, and coverage needs.
Understanding the differences between Nest Wifi models helps you get the best performance. This guide covers key points to consider.
Comparing Nest Wifi Models
Google offers several Nest Wifi models. Each has different speeds and features. Choose the model that fits your needs.
- Nest Wifi Router:Basic unit, handles main connection.
- Nest Wifi Point:Extends coverage and adds smart speaker.
- Nest Wifi Pro:Newer model with faster speeds and Wi-Fi 6E support.
Assessing Your Home Size
Home size affects how many Nest Wifi units you need. Large homes need more units for full coverage.
- Small homes (under 1,500 sq ft) may need one router.
- Medium homes (1,500–3,000 sq ft) often use one router plus one point.
- Large homes (over 3,000 sq ft) usually need multiple points.
Number Of Devices And Coverage
The number of devices affects network speed. More devices need stronger coverage and better bandwidth.
- For up to 10 devices, a basic Nest Wifi setup is enough.
- For 10 to 30 devices, add more points to keep speed stable.
- For over 30 devices, use Nest Wifi Pro for better capacity.
Preparing For Installation
Setting up your Google Nest Mesh Wifi starts with good preparation. Proper steps help your network work well and stay stable.
Check a few key things before you begin. This makes the installation quick and smooth.
Checking Internet Connection
Make sure your internet service is active and working. Test your modem by connecting a device with an Ethernet cable.
If the internet is slow or not working, contact your provider. Fixing connection issues first saves time.
Positioning Your Router
Place your router in an open space, away from thick walls or metal objects. This helps the signal reach all rooms.
- Keep the router elevated on a shelf or table.
- Avoid placing it near microwaves or cordless phones.
- Center the router if you have a large area to cover.
- Keep it away from windows to reduce signal loss.
Power And Network Requirements
| Requirement | Details |
|---|---|
| Power Source | Use a nearby power outlet for each Nest Wifi unit. |
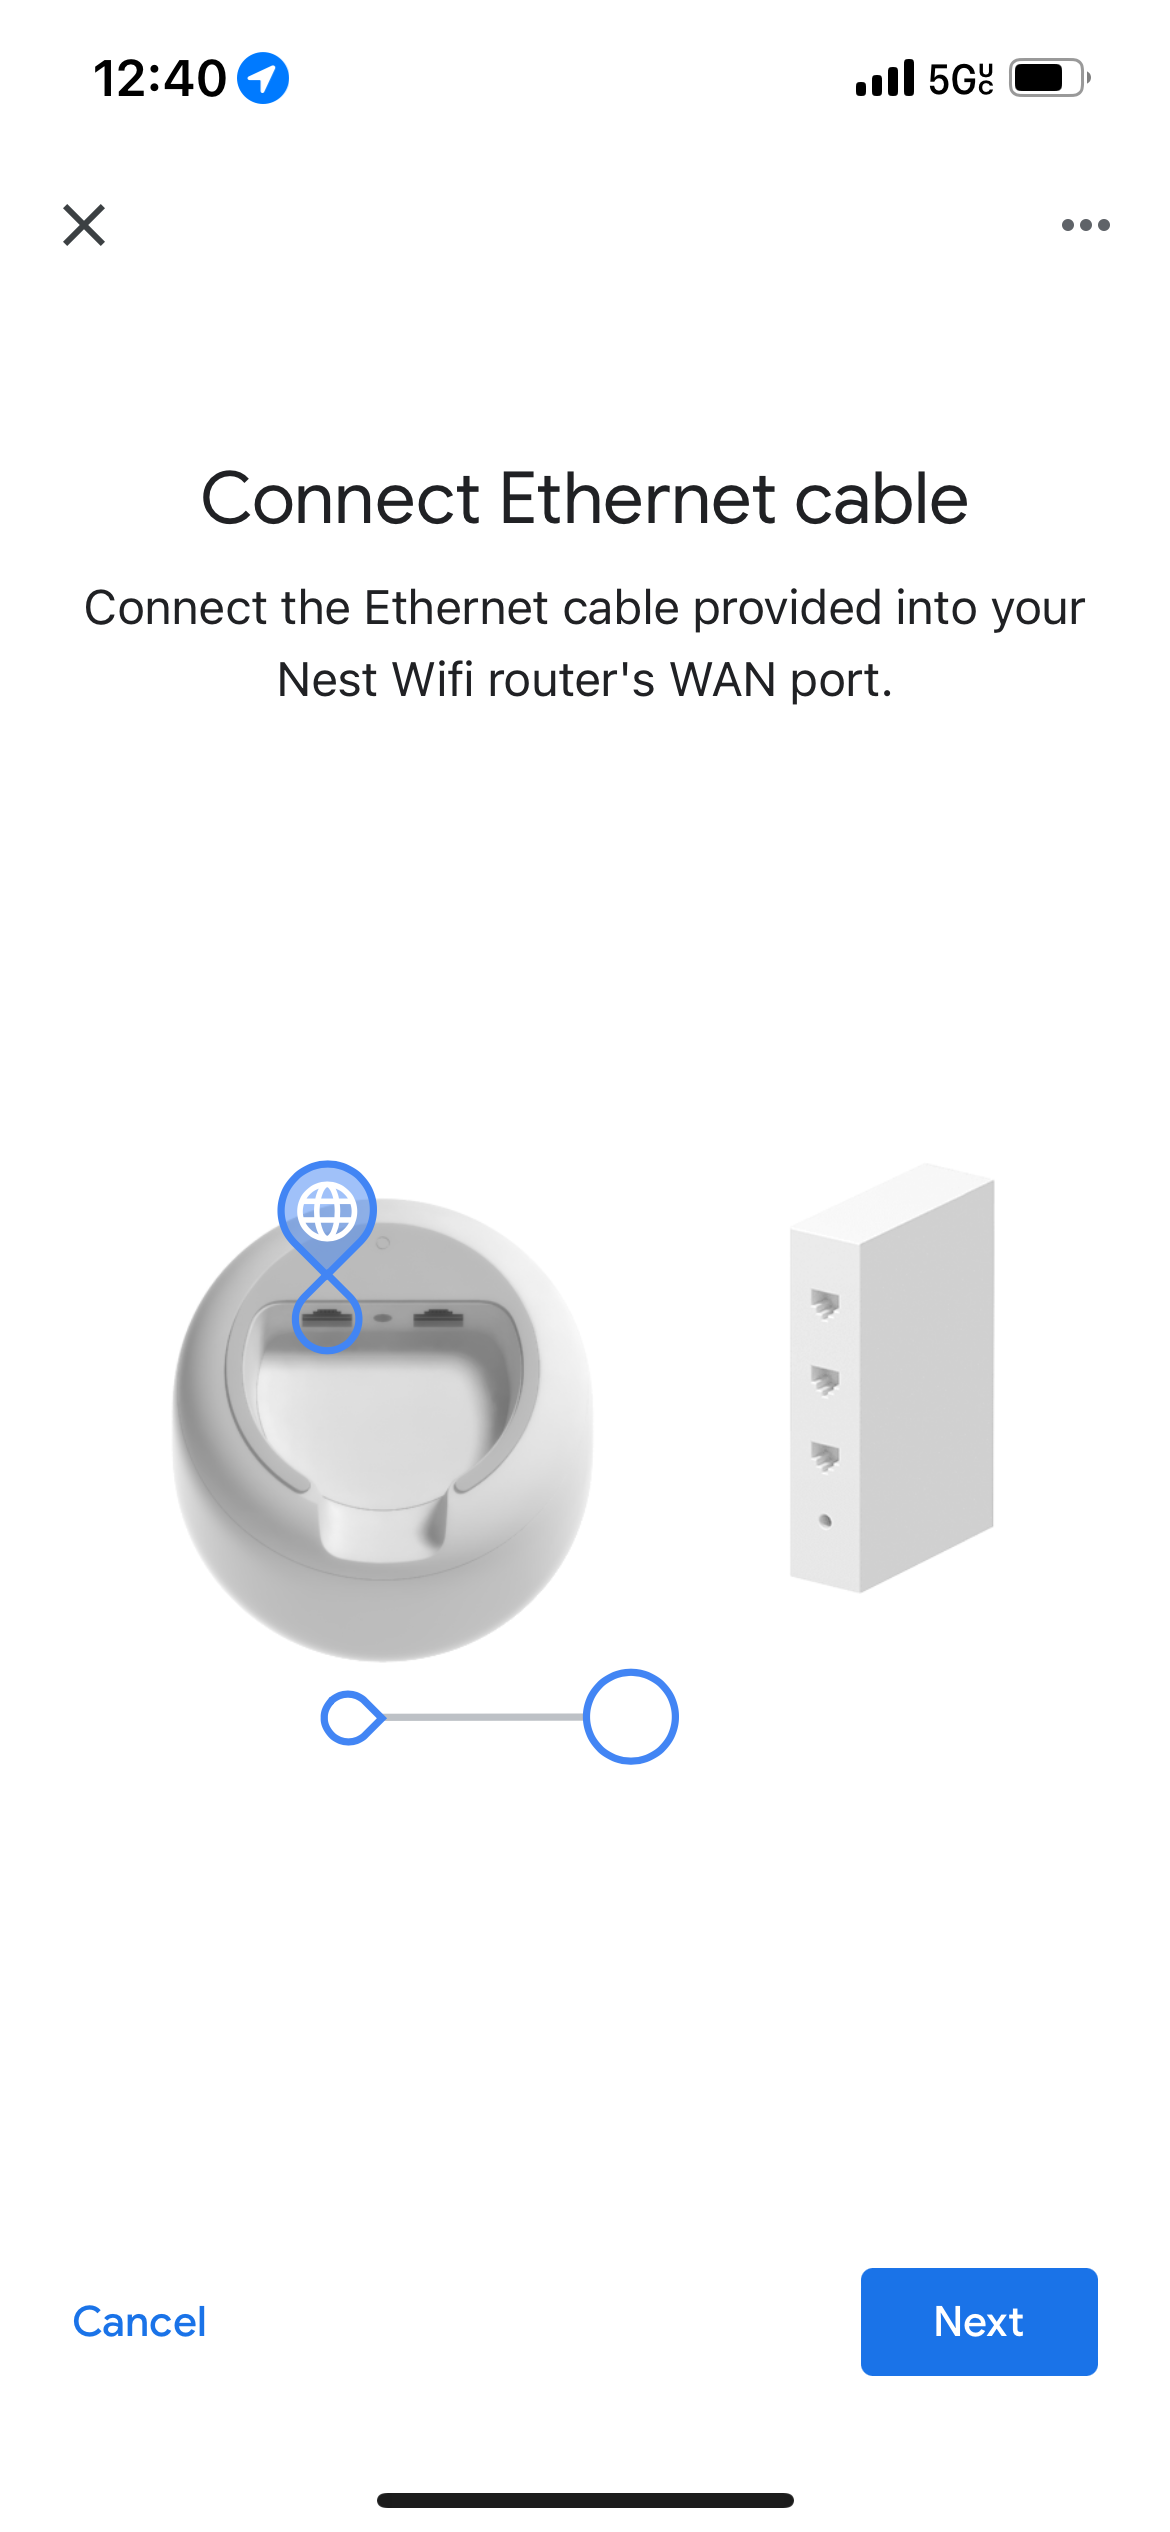
| Ethernet Connection | Connect the primary Nest Wifi router to your modem with an Ethernet cable. |
| Network Speed | Ensure your internet speed matches your needs for smooth streaming and browsing. |
| Backup Power | Optional: A UPS can help keep your network running during outages. |
Step-by-step Setup Process
Setting up your Google Nest Mesh Wifi helps improve your home internet. Follow these steps to get your network ready fast and easy.
This guide will walk you through using the Google Home app, connecting the main router, adding more points, and testing your network.
Using The Google Home App
Download and open the Google Home app on your smartphone. The app controls your Nest Wifi system and guides you through setup.
- Sign in with your Google account.
- Tap “Add” and select “Set up device.”
- Choose “New device” and pick your home.
- The app will scan for your Nest Wifi device.
- Follow on-screen prompts to continue.
Connecting Primary Router
Place the primary router near your modem. Use the Ethernet cable to connect the router to the modem’s WAN port.
- Plug in the router’s power adapter.
- Turn on the router and wait for the light to pulse white.
- In the Google Home app, confirm the device found matches your router.
- Set your Wi-Fi network name and password.
- Finish setup and wait for the router to connect fully.
Adding Additional Points
Add more Nest Wifi points to cover a larger area. Place points in open spots, away from metal or thick walls.
- Plug in the additional point and wait for the light to pulse white.
- Open the Google Home app and tap “Add” then “Set up device.”
- Select “New device” and follow prompts to add the point.
- Place the point about halfway between your router and farthest device.
- Wait for the app to confirm the point is online.
Testing Network Strength
Check your network’s speed and signal strength using the Google Home app. This helps find weak spots to improve coverage.
| Test Type | Purpose | How to Run |
| Speed Test | Measure download and upload speeds | Use the app’s speed test feature on each point |
| Signal Strength | Check Wi-Fi coverage quality | Look at the device connection info in the app |
| Network Health | Detect any issues with devices or connection | View the “Network” tab for alerts |
Credit: community.surfboard.com
Optimizing Network Performance
Good network performance means fast and stable internet. Setting up Google Nest Mesh Wifi correctly helps you get the best speed.
This guide covers tips to improve your Nest Wifi setup and keep your network strong.
Choosing Optimal Placement
Place your Nest Wifi points where they can cover the most area. Avoid walls and large metal objects that block signals.
Keep points away from microwaves and cordless phones. These devices can interfere with your wifi signal.
- Put the main router in a central, open spot
- Space mesh points evenly for better coverage
- Place points on shelves or high surfaces
- Avoid corners and thick walls
Managing Bandwidth Priorities
Control which devices get faster internet by setting bandwidth priorities. This helps important devices run smoothly.
You can prioritize work computers, streaming devices, or gaming consoles to avoid slowdowns.
- Use the Google Home app to set device priorities
- Give higher priority to devices needing fast speeds
- Lower priority for less used devices
- Adjust settings based on your usage
Enabling Fast Roaming
Fast roaming lets devices switch quickly between mesh points. This keeps your connection smooth as you move around.
Enable fast roaming in the Google Home app to reduce delays and dropouts on mobile devices.
- Open the Google Home app
- Go to Wifi settings
- Find the fast roaming option and turn it on
- Test by moving with a device to check smooth switching
Troubleshooting Common Issues
Setting up Google Nest Mesh Wifi can be easy. Sometimes, you may face problems with the connection or device performance.
This guide helps you fix common issues quickly. Follow simple tips to keep your network running well.
Addressing Connectivity Drops
Connectivity drops happen when your devices lose internet connection. This can be due to interference or weak signals.
Try moving your Nest Wifi points closer or away from walls and other electronics. Avoid placing them near microwaves or cordless phones.
- Place Nest Wifi points in open areas
- Reduce distance between router and points
- Keep devices away from metal objects
- Check for Wi-Fi interference from other devices
Resetting Nest Wifi Devices
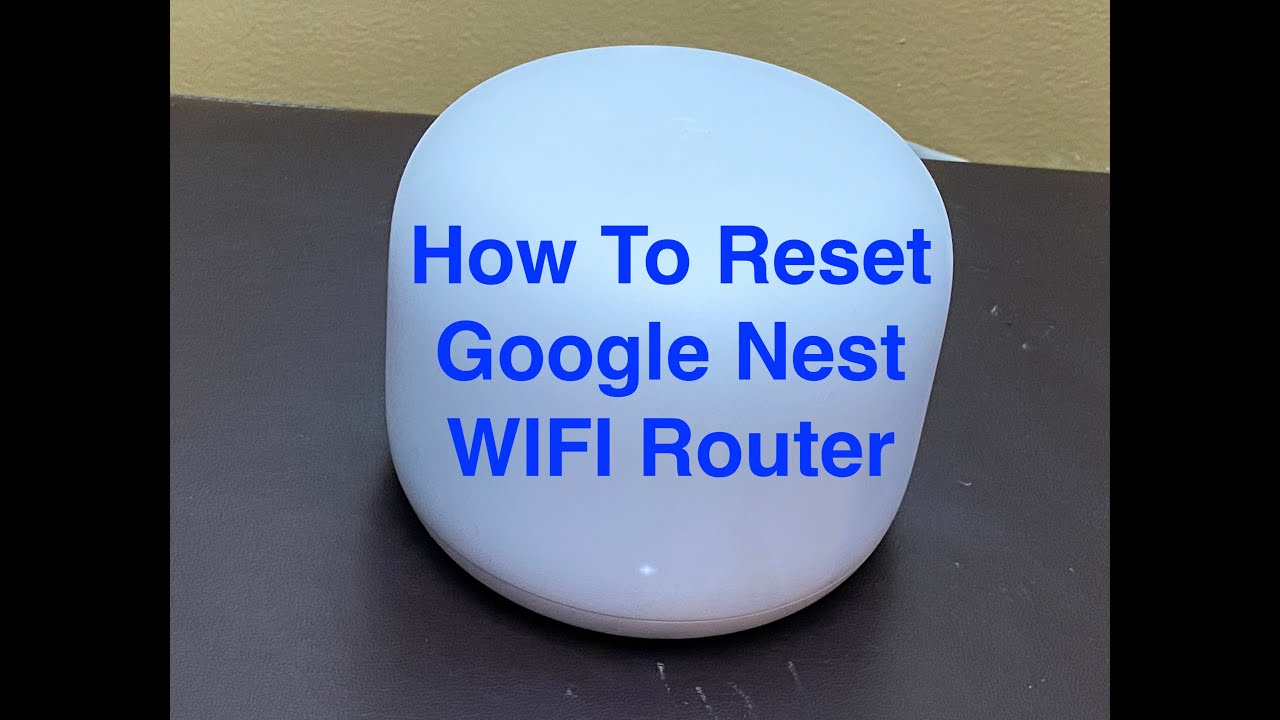
Resetting your Nest Wifi devices can fix many problems. It restores the device to factory settings.
Press and hold the reset button on the device for about 10 seconds. Wait until the light changes color to confirm reset.
- Locate the reset button on the device
- Hold button until light blinks or changes color
- Release button and wait for device to restart
- Set up the device again using the Google Home app
Firmware Updates And Maintenance
Firmware updates keep your Nest Wifi secure and running smoothly. These updates fix bugs and improve performance.
Check the Google Home app regularly for update notifications. Make sure your devices stay powered on during updates.
- Open Google Home app and select your Nest Wifi device
- Look for firmware update alerts
- Allow device to update automatically or start update manually
- Keep devices plugged in during updates
Advanced Settings And Features
Google Nest Mesh WiFi offers advanced settings for optimal home network management. These features help customize your internet experience.
Explore guest networks, parental controls, and smart home integration. These tools enhance security and usability.
Setting Up Guest Network
A guest network allows visitors to access the internet without connecting to your main network. This feature maintains privacy and security.
Set up a guest network with a separate password. This ensures your main network remains secure from unauthorized access.
- Open the Google Home app
- Select your WiFi device
- Tap on “Guest Network”
- Set the network name and password
Parental Controls And Filters
Parental controls help manage internet access for children. These settings filter content and limit screen time.
Adjust controls to block inappropriate content. You can also schedule internet breaks during study or sleep hours.
- Go to the Google Home app
- Select “Family WiFi”
- Choose filters or create schedules
- Apply settings to specific devices
Integrating Smart Home Devices
Google Nest Mesh WiFi supports smart home devices. Connect and control these gadgets through your network.
Ensure all devices are on the same network. This allows seamless interaction and automation for your smart home.
- Check compatibility of smart devices
- Connect devices to your WiFi
- Use Google Home app for management
- Set up routines for automation
Maximizing Security
Setting up your Google Nest Mesh Wifi is just the beginning. Keeping your network secure is vital. Here are some tips to enhance your network’s security.
Follow these guidelines to protect your connection and data from potential threats.
Using Strong Passwords
Passwords are your first line of defense. A strong password is long and unique. Avoid using common words or easily guessed combinations.
- Use a mix of letters, numbers, and symbols
- Avoid using personal information like birthdays
- Change your passwords regularly
Enabling Network Encryption
Encryption protects the data traveling over your network. Ensure your Google Nest Mesh Wifi uses the latest encryption standard.
Check your settings to confirm WPA3 is enabled for the best security.
Regular Security Checks
Regular checks help identify vulnerabilities early. Make it a habit to review your network’s security settings.
| Task | Frequency |
| Update Router Firmware | Monthly |
| Review Connected Devices | Weekly |
| Change WiFi Password | Quarterly |

Credit: gizmodo.com
Credit: www.youtube.com
Frequently Asked Questions
How Do I Start Google Nest Mesh Wifi Setup?
Begin by plugging in the primary Nest Wifi router. Download the Google Home app on your smartphone. Follow the app’s step-by-step instructions to connect your router to the modem. Create a network name and password. Then, place additional Nest Wifi points in different rooms for full coverage.
Where Should I Place Nest Wifi Points For Best Coverage?
Place Nest Wifi points in open areas, away from walls and metal objects. Avoid placing them near microwaves or cordless phones. Position them halfway between the router and the area with weak signal. Proper placement ensures a strong mesh network throughout your home.
How To Reset Google Nest Wifi During Setup?
To reset, press and hold the reset button on the Nest Wifi device for about 10 seconds. The light will flash, indicating a factory reset. This clears previous settings and allows you to start setup fresh via the Google Home app.
Can I Use Google Nest Wifi With My Existing Router?
Yes, but it’s best to use Nest Wifi as the primary router for optimal performance. If you keep your existing router, set Nest Wifi to bridge mode to avoid network conflicts. This setup extends your current network while maintaining mesh benefits.
Conclusion
Setting up Google Nest Mesh Wifi can improve your home network. Follow simple steps to place devices for best coverage. Keep your system updated to avoid connection issues. Restart your router if the signal weakens. Use the Google Home app to manage settings easily.
Enjoy smooth internet for work, streaming, and gaming. A strong wifi network makes daily tasks easier. With patience and these tips, your wifi will work well.