Are you tired of slow or unreliable internet while on the road? Connecting a portable router to your RV can change the way you stay connected, making your travels smoother and more enjoyable.
Imagine streaming your favorite shows, working remotely, or keeping in touch with loved ones without interruptions. This guide will show you exactly how to set up your portable router step-by-step, so you can enjoy fast and stable internet wherever you go.
Keep reading to unlock the secret to hassle-free connectivity in your RV!

Credit: www.youtube.com
Choosing The Right Portable Router
Choosing the right portable router for your RV is more than just picking a gadget off the shelf. It’s about finding a device that fits your travel lifestyle, covers your connectivity needs, and can handle the unique challenges of life on the road.
Think about your internet habits. Are you streaming movies, working remotely, or just checking emails? Your router should match those demands while staying compact and easy to set up inside your RV.
Key Features To Look For
- Portability:Size and weight matter. Look for a router that’s light and small enough to carry without hassle.
- Battery Life:Some portable routers come with built-in batteries. This is a game-changer when you camp without power hookups.
- Network Compatibility:Make sure the router supports multiple network types like 4G LTE or 5G for better coverage on the road.
- Range and Signal Strength:A strong signal inside your RV means fewer dead zones and smoother browsing.
- Security Features:VPN support, firewall options, and password protection keep your data safe while you’re on public or shared networks.
- Ease of Use:Look for routers with user-friendly interfaces or apps to simplify setup and management.
When I first started RVing, I underestimated how crucial battery life was. My router died right when I needed it most, which was frustrating. Now, I always choose models with long-lasting batteries or the option to connect external power.
Top Portable Router Models For Rvs
| Model | Key Features | Ideal For | Price Range |
|---|---|---|---|
| Netgear Nighthawk M1 | 4G LTE, up to 24-hour battery, supports multiple devices | Heavy streamers and remote workers | High ($300+) |
| TP-Link M7350 | 4G LTE, compact design, up to 8-hour battery | Casual users and light browsing | Mid ($100-$150) |
| GL.iNet GL-AR750S-Ext | Dual-band Wi-Fi, OpenVPN support, Ethernet ports | Tech-savvy users needing security | Mid ($80-$120) |
| Huawei E5577 | 4G LTE, 6-hour battery, easy setup | Budget-conscious travelers | Low ($50-$80) |
Which features matter most to you? Are you prioritizing speed, security, or battery life? Knowing this will help you narrow down your choices and avoid wasting money on extras you won’t use.
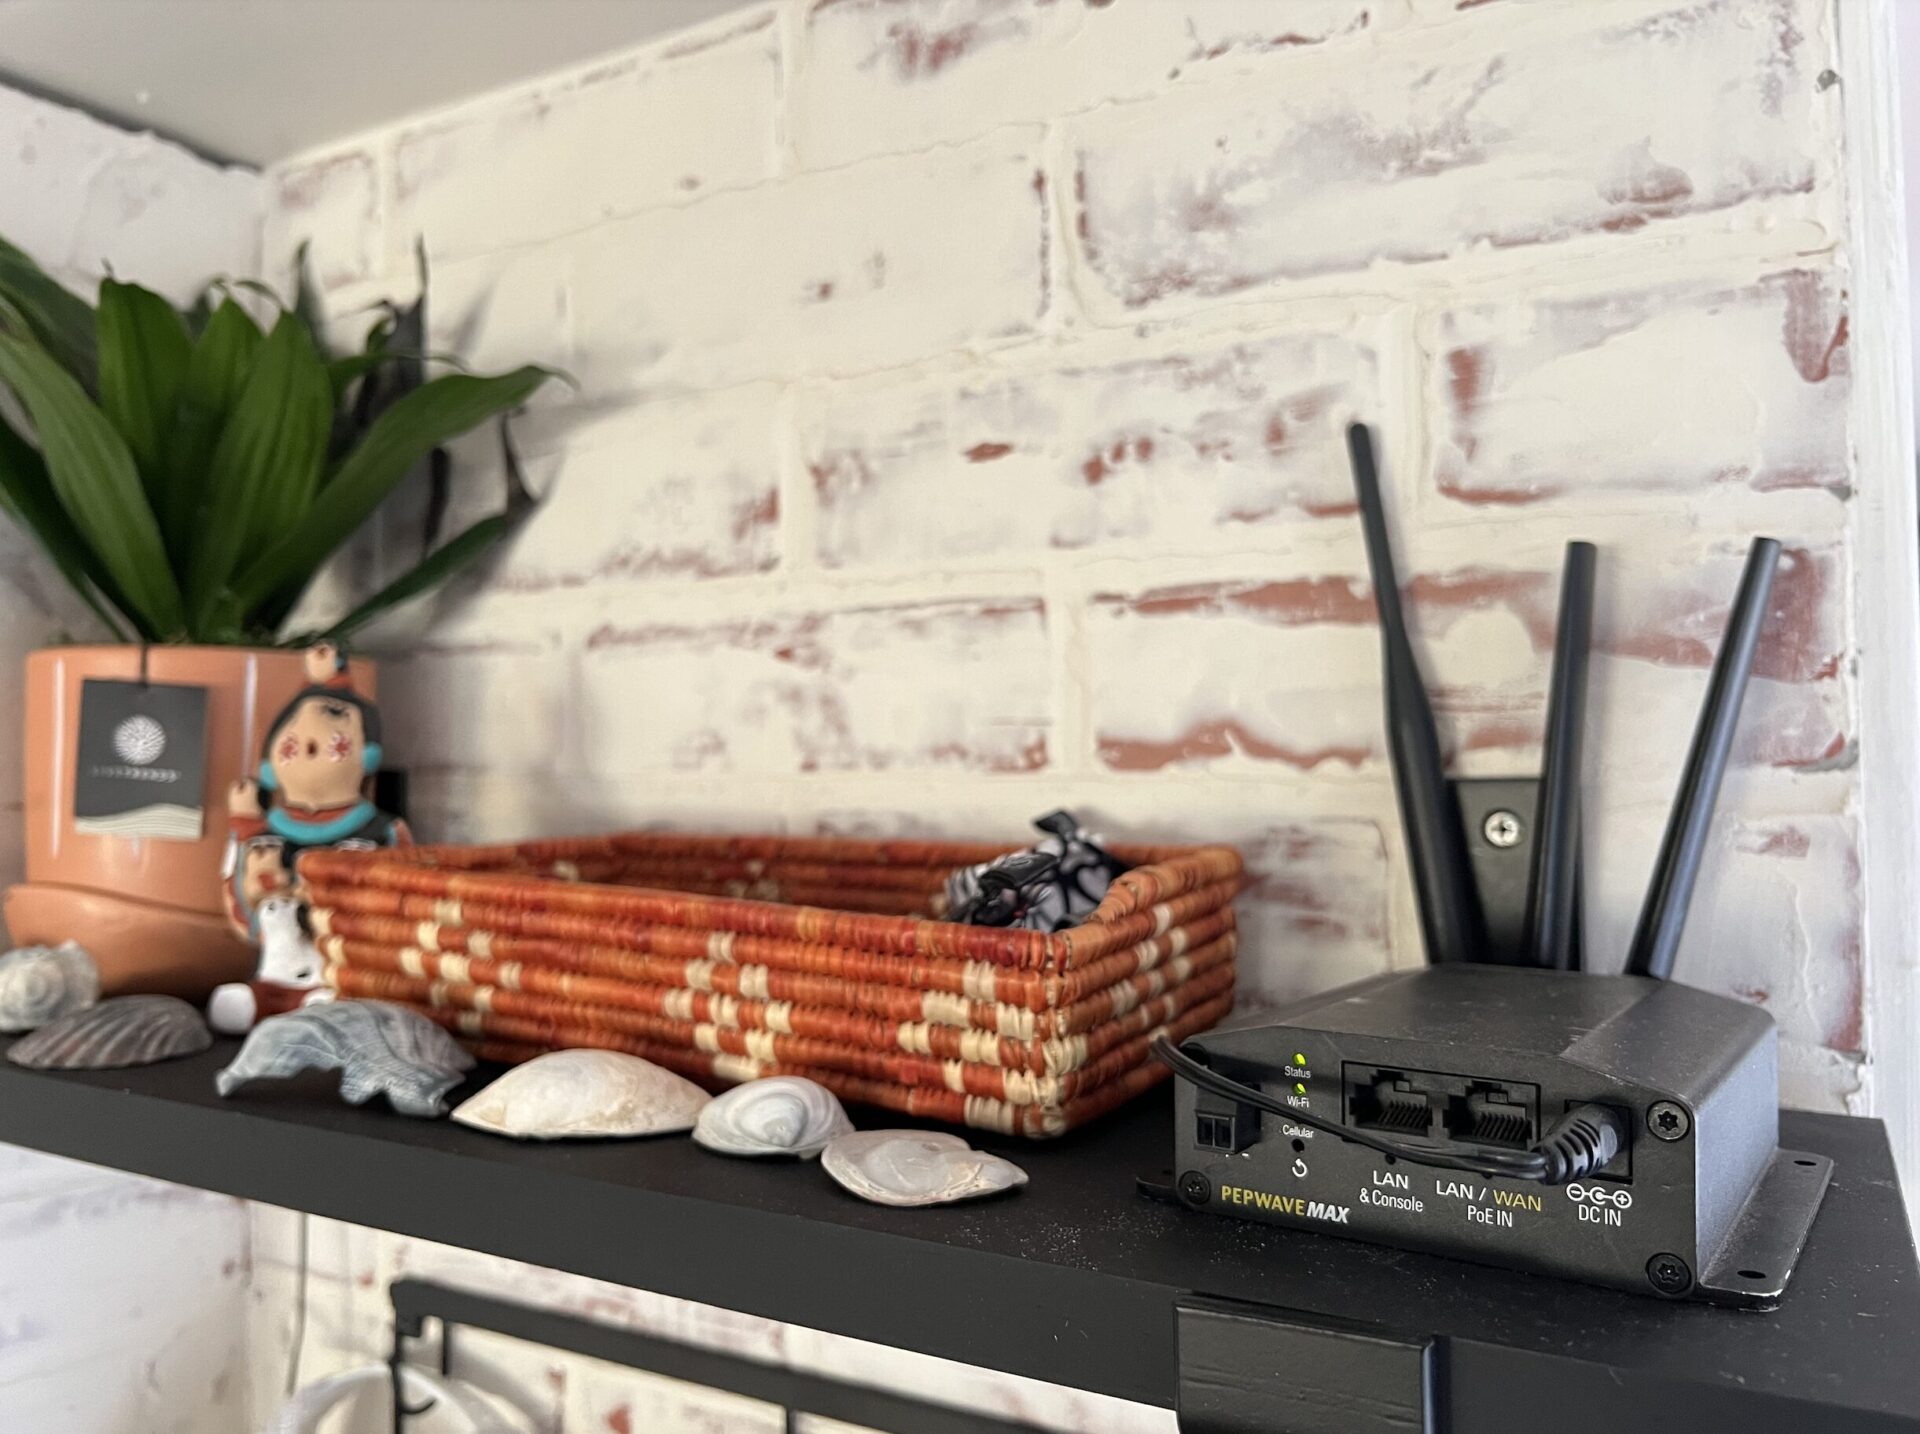
Credit: www.cinderstravels.com
Preparing Your Rv For Router Setup
Setting up a portable router in your RV isn’t just about plugging it in. You need to prepare your space thoughtfully to get the best connection and avoid power issues. Taking a moment to check your RV’s power options and choosing the right spot for your router can save you from frustrating dead zones and unexpected outages.
Checking Power Supply Options
Before you plug in your portable router, make sure your RV’s power system can handle it. Most routers run on low voltage, but if you’re using extra devices, power consumption adds up quickly.
Look at your RV’s power sources—whether it’s shore power, battery, or a generator. Each has limits, and knowing those helps you avoid sudden shutdowns.
Consider investing in a power inverter if your router needs AC power but your RV mainly runs on DC. I once overlooked this and ended up with a router that wouldn’t turn on during a camping trip. A simple inverter fixed that issue instantly.
- Check battery charge levels regularly
- Use surge protectors to guard your router
- Keep backup power options ready
Identifying Optimal Router Placement
Where you place your router inside the RV greatly affects signal strength. Avoid corners or areas surrounded by metal, as they block Wi-Fi signals.
Try placing the router near a window or in the center of your living space for better coverage. I found that placing mine near the front windshield improved signal reach outside the RV, which was great for outdoor work.
Think about how you use your internet—do you stream in the bedroom or work at the dining table? Position the router accordingly to cut down on dead spots.
- Avoid placing the router near microwaves or other electronics that emit interference
- Elevate the router if possible to enhance range
- Test signal strength with your devices before finalizing placement
Step-by-step Router Installation
Setting up a portable router in your RV is easier than it sounds. Follow clear steps to get your internet ready quickly. This process ensures stable and fast connections wherever you travel. Each part plays a key role in the setup.
Connecting To Power
Find a power source inside your RV. Most portable routers use USB or a small adapter. Plug the router into a power outlet or USB port. Make sure the connection is secure. Avoid loose cables to prevent interruptions.
If your RV has a power inverter, use it. This lets you run devices from your RV’s battery safely. Keep the router in a dry, ventilated spot to avoid overheating.
Setting Up Internet Sources
Identify how your router will get internet. Portable routers can connect via SIM card, Wi-Fi, or Ethernet. Insert a SIM card if your router supports mobile data. Activate the SIM card with your service provider.
To use public or campground Wi-Fi, scan for available networks. Select the best signal and enter the password if needed. For Ethernet, plug the cable from your RV’s modem into the router’s WAN port.
Configuring Router Settings
Access the router’s control panel using a web browser. Type the router’s IP address in the address bar. Login with the default username and password found in the manual.
Set a unique network name (SSID) to identify your Wi-Fi. Create a strong password to keep your connection secure. Adjust settings like DHCP and firewall based on your needs.
Save changes and restart the router. Check device connections and test the internet speed. Adjust settings again if the connection is weak or unstable.
Enhancing Signal Strength
Boost signal strength by placing the portable router near a window or open space. Use an external antenna or signal booster to improve connectivity inside the RV. Adjust the router’s position to find the best signal reception.
Enhancing the signal strength of your portable router in an RV can greatly improve your internet experience. The right setup can ensure better connectivity, allowing you to enjoy seamless browsing and streaming. Here are some effective strategies to boost your signal strength.Using External Antennas
External antennas can significantly enhance your router’s signal. They capture signals better than built-in ones. Opt for antennas that are compatible with your router. They help in reaching remote areas. Installation is usually simple. Connect them to the designated ports on your router. This simple addition can make a big difference.Avoiding Interference
Interference can weaken your signal strength. Identify common sources of interference. These include microwaves and other electronic devices. Keep your router away from such devices. Thick walls can also block signals. Try to place the router in an open area. This can reduce interference and boost connectivity.Positioning For Best Coverage
The position of your router plays a crucial role. Place it centrally in your RV for even coverage. Elevate it to avoid obstacles. This helps in spreading the signal evenly. Avoid placing it near metal objects. They can block signals. Experiment with different spots to find the best position. This ensures the strongest connection possible.Troubleshooting Common Issues
Connecting a portable router to your RV can sometimes cause problems. These issues may interrupt your internet or slow down your speed. Troubleshooting helps fix these common problems quickly. It keeps your connection stable and fast. Here are some ways to solve frequent issues with your portable router in the RV.
Resolving Connection Drops
Connection drops can be frustrating during travel. First, check the router’s location. Place it near a window or open space for better signal. Avoid metal objects or thick walls that block Wi-Fi signals.
Next, ensure your router firmware is up to date. Outdated firmware can cause interruptions. Restart the router to refresh the connection. Also, check if other devices overload the network. Disconnect unused devices to reduce strain.
Fixing Slow Speeds
Slow internet speeds affect streaming and browsing. Check the signal strength on your router. Move closer to the device to boost speed. Limit the number of connected devices. Too many devices slow down the network.
Try changing the Wi-Fi channel to avoid interference. Many routers automatically select the best channel. If not, manually select one with less traffic. Also, clear the cache on your devices to improve speed.
Resetting The Router
Resetting the router can solve many problems. Find the reset button, usually a small hole. Use a paperclip to press and hold it for 10 seconds. This restores the router to factory settings.
After resetting, reconfigure the router settings. Enter your network name and password again. This simple step often fixes connection and speed issues.

Credit: www.amazon.com
Maintaining Your Portable Router
Maintaining your portable router ensures it stays reliable and efficient during your RV adventures. Proper care extends its life and keeps your connection strong wherever you travel. Small habits can make a big difference in performance and durability.
Firmware Updates
Regularly updating your router’s firmware is crucial. Updates fix bugs, improve security, and add new features that can enhance your internet experience on the road.
Check the manufacturer’s website or app for update notifications. Set a reminder to update at least once every few months, or whenever you notice performance issues.
Battery Care Tips
Your router’s battery life depends on how well you treat it. Avoid letting the battery drain completely before recharging, as this can reduce its overall lifespan.
- Charge your router before long trips.
- Use the original charger to prevent damage.
- Turn off the router when not in use to save power.
Have you ever been stuck with no internet because your router died? Proper battery care prevents that frustration.
Cleaning And Storage
Dust and dirt can clog your router’s vents, causing it to overheat and slow down. Wipe it gently with a dry cloth after each trip to keep it clean.
Store your portable router in a cool, dry place away from direct sunlight. Use a protective case to avoid physical damage during transport.
Think about where you leave your router—does it get tossed into a backpack with heavy gear? Being mindful of storage can prevent costly repairs.
Alternative Internet Solutions For Rvs
Finding internet on the road can be tough for RV travelers. Alternative internet solutions help keep you connected beyond traditional Wi-Fi. These options provide flexibility and access in many places.
Choosing the right method depends on your needs, location, and budget. Each option has strengths and limits to consider for your RV lifestyle.
Mobile Hotspots
Mobile hotspots use cellular networks to share internet with your devices. They connect to 4G or 5G signals and create a Wi-Fi zone inside your RV.
- Easy to set up and use
- Works well in areas with strong cell coverage
- Portable and compact for travel
- Data plans vary by provider and speed
Mobile hotspots suit travelers near cities or towns. They offer reliable speed for browsing, streaming, and work tasks.
Satellite Internet Options
Satellite internet connects through satellites orbiting Earth. This option reaches remote places without cell towers.
- Available almost everywhere, even off-grid
- Slower speeds and higher costs than cellular
- Requires satellite dish setup on your RV
- Weather can affect signal quality
Satellite is ideal for deep wilderness or rural travel. It keeps you online where other signals fail.
Using Public Wifi Safely
Public WiFi spots like campgrounds or cafes offer free internet access. They can help save on data usage.
- Always use a VPN to protect your data
- Avoid sensitive activities like banking on public networks
- Keep your device’s firewall and antivirus active
- Disconnect when not using the connection
Public WiFi is convenient but risky without precautions. Stay safe and secure while taking advantage of free access.
Frequently Asked Questions
How Do I Connect A Portable Router To My Rv?
To connect a portable router to your RV, plug it into a power source. Then, connect it to your RV’s internet source, such as a mobile hotspot or campground Wi-Fi. Configure settings using the router’s app or web interface for stable internet access.
Can I Use A Portable Router With Campground Wi-fi?
Yes, a portable router can boost campground Wi-Fi signals. Connect the router to the campground Wi-Fi network. It improves signal strength and allows multiple devices to connect securely inside your RV.
What Power Options Are Available For Portable Routers In Rvs?
Portable routers can be powered via USB, 12V DC adapters, or portable power banks. Many models support vehicle power outlets, making them ideal for on-the-go use inside RVs.
Is A Portable Router Better Than A Mobile Hotspot In An Rv?
A portable router offers more device connections and better signal management. Mobile hotspots are limited to fewer devices. For multiple users in an RV, a portable router provides more reliable and extended coverage.
Conclusion
Connecting a portable router to your RV makes internet access easy and reliable. It helps you stay connected on the road without hassle. Follow simple steps to set up your device quickly. Enjoy better Wi-Fi for work, entertainment, or staying in touch.
This small tool brings big convenience to your travel experience. Keep your router charged and placed in a good spot. Stay online wherever your RV adventure takes you.